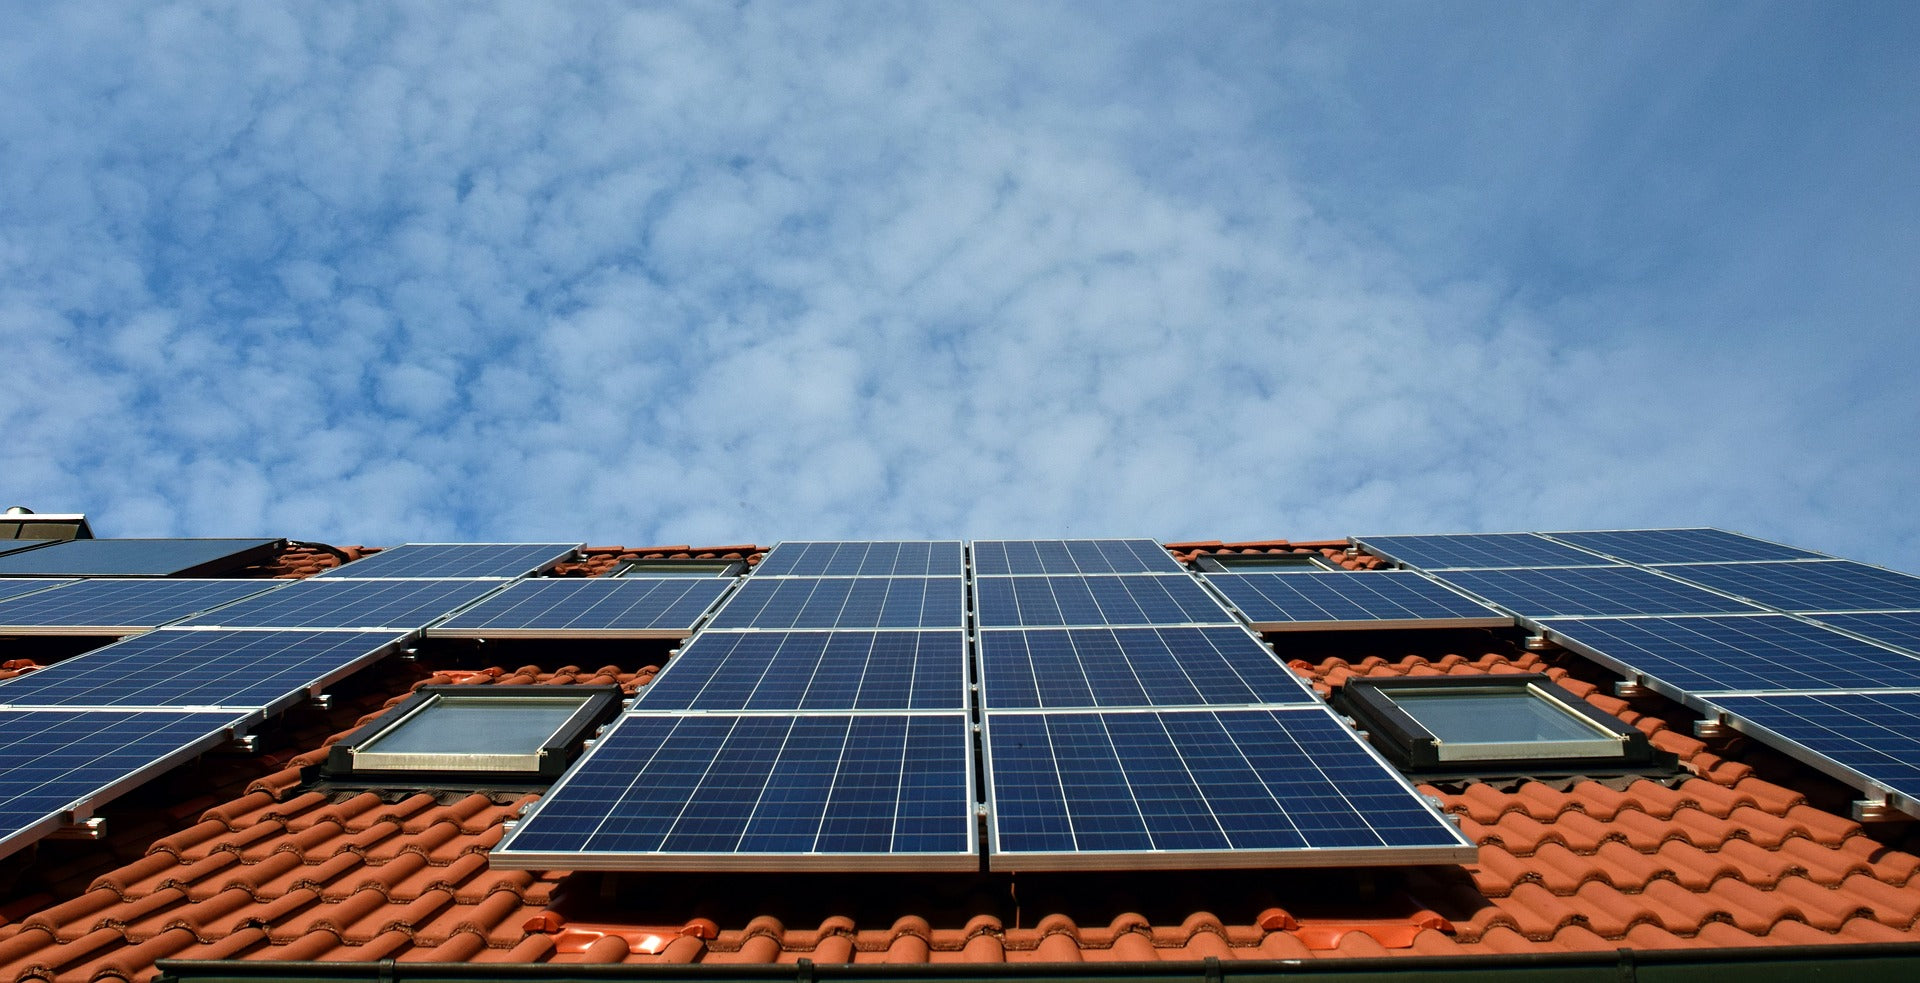
Examples of residential solar panel installation
1.Installation instructions
1.1 Scope of application
This installation manual covers the correct installation and trial operation of the household solar power system.
1.2 Personnel qualification
The instructions assume that the installer is familiar with electrical installation and knows the corresponding rules and regulations.
2.Site preparation
Tool list
|
No. |
Name |
Quantity |
Remarks |
Tool picture |
|
1 |
Impact drill |
1pcs |
For fixing expansion screws |
|
|
2 |
Hammer |
1pcs |
For fixing expansion screws |
|
|
3 |
Scissors |
1PCS |
For opening carton packaging |
|
|
4 |
Adjustable wrench |
2PCS |
For mounting bracket screws |
 |
|
5 |
cross screwdriver |
1PCS |
For mounting screws |
|
|
6 |
Cotton gloves |
1PCS |
For installation |
|
3.Unpacking the photovoltaic panel:
Step1:Open the carton with scissors (as shown below)

Step 2: Grab the carton and take out the photovoltaic panel (as shown in the picture)

Unpacking the mounting bracket:
Step 3: Open the carton with scissors

Step 4: Take out the accessories (stainless steel bracket, screws, etc.) needed to install the photovoltaic panel

4.Product installation
After unpacking, the photovoltaic panels and mounting bracket accessories are as shown in the figure below:
Installation checklist

|
Name |
Model |
Quantity |
Remark |
|
Anchor expansion screw |
M8 |
6 |
2 spare |
|
Bracket fixing screws |
M8 |
24 |
2 spare |

Installation steps (ground):
Step 1
Fix No. 1 and No. 2 brackets on No. 3 bracket with nuts. Then fix the brackets 1, 2 on the ground with nuts

Step 2
Fix No. 4 and No. 5 brackets on No. 1 and No. 2 brackets with nuts, as shown in the figure below

Step 3
Fix No. 6 and No. 7 brackets to No. 4 and No. 5 brackets with nuts, as shown in the figure below

Step 4
Fix one end of No. 8 and No. 9 brackets on No. 4 and No. 5 brackets with nuts. The angle can be adjusted according to the holes on No. 4 and No. 5 brackets, as shown in the figure above. The other end of the brackets No. 8 and 9 is fixed on the bracket No. 1 and No. 2 with a nut, as shown in the figure below. The bracket installation is complete.

Step 5
Fix the photovoltaic panel with nuts on the eight nut positions on the 8 and 9 brackets (as shown in the figure below)

Step 6
Ground wire 12 meters
Positive Wire 12 meters
Negative Wire 12 meters
Installation completed

Installation steps (wall):
Step1
Fix No. 1 and No. 2 brackets on No. 3 bracket with nuts. Then fix the brackets 1, 2 on the ground with nuts as shown in the figure below.

Step 2
Fix No. 4 and No. 5 brackets on No. 1 and No. 2 brackets with nuts, as shown in the figure below.

Step 3
Fix No. 6 and No. 7 brackets on No. 4 and No. 5 brackets with nuts, as shown in the figure below.

Step 4
Fix one end of No. 8 and No. 9 brackets on No. 4 and No. 5 brackets with nuts. The angle can be adjusted according to the holes on No. 4 and No. 5 brackets, as shown in the figure below. The other end of brackets No. 8 and 9 are fixed to bracket No. 1 and No. 2 with nuts, as shown in the figure below. The bracket installation is complete.


Step 5
Fix the photovoltaic panel with nuts on the eight nut positions on the 8 and 9 brackets (as shown in the figure below)

Step 6
Ground wire 12 meters
Positive Wire 12 meters
Negative Wire 12 meters
Installation completed


1) Installation position: The best installation position of solar panels is the position due to the south. When choosing the position, pay attention to the influence of surrounding buildings and trees, and avoid the influence factor of shadow, otherwise it will affect the efficiency of solar panels. The efficiency is better within 20 degrees in the southwest, so that there is good sunlight for power generation in winter or summer. If it can’t be south or some solar panels can’t fit, it can also be placed in the east and west. In this direction, you can also have half a day to generate electricity. Don’t be in the north, where there is no sun.
2)Installation angle: The angle of most solar panels is about 45 degrees. This is based on the local latitude, because the angle of sunlight is different at different latitudes. For the south, it is recommended to be about 30 degrees. You can also use a computer to accurately calculate a value based on the local latitude.


